
By Guy
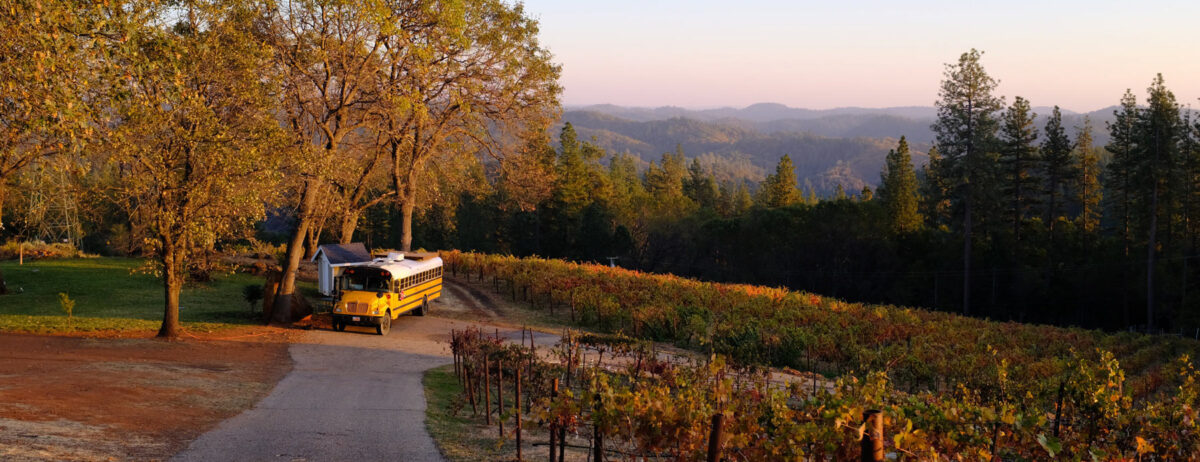
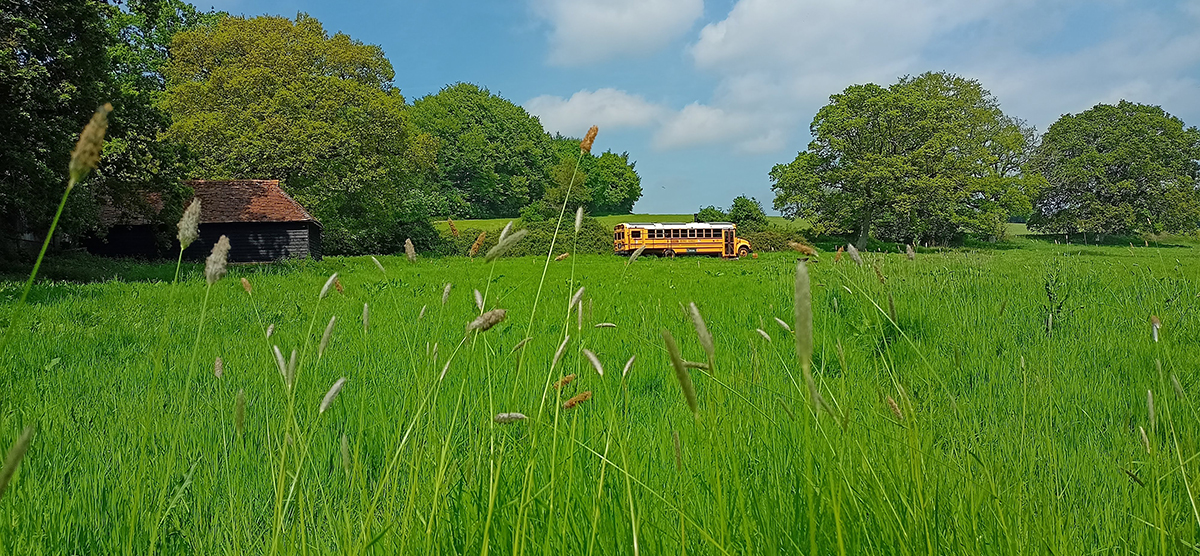
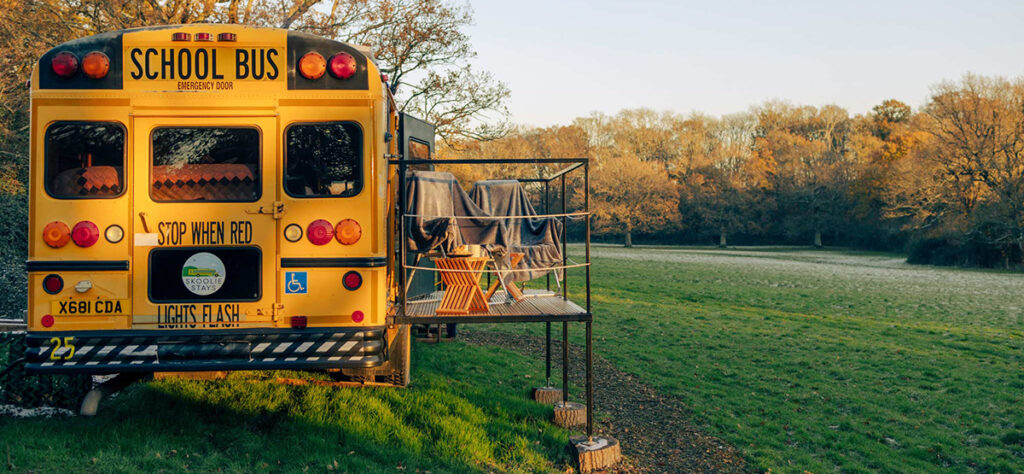
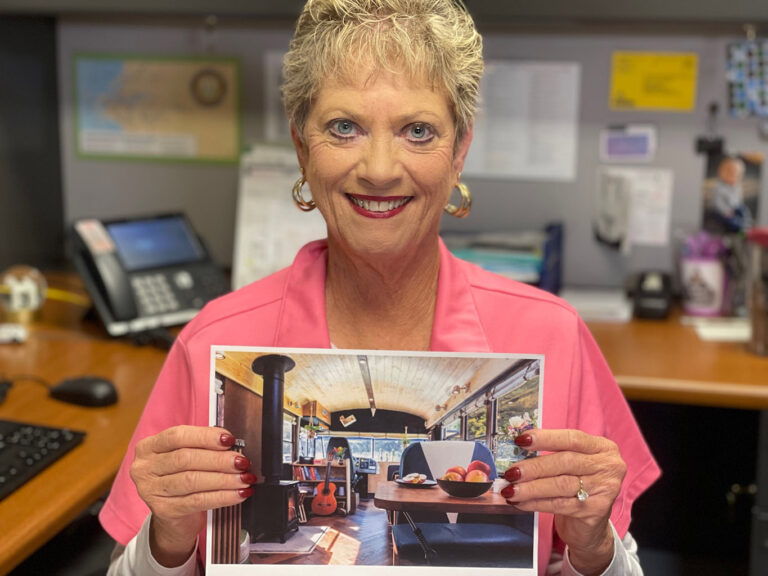
Our converted American school bus glamping stay in West Sussex now features a private wood-fired hot tub beneath the oak trees. Guests can soak in hot water while overlooking the quiet meadow and countryside around the South Downs.
Go glamping in Sussex with a hot tub ►
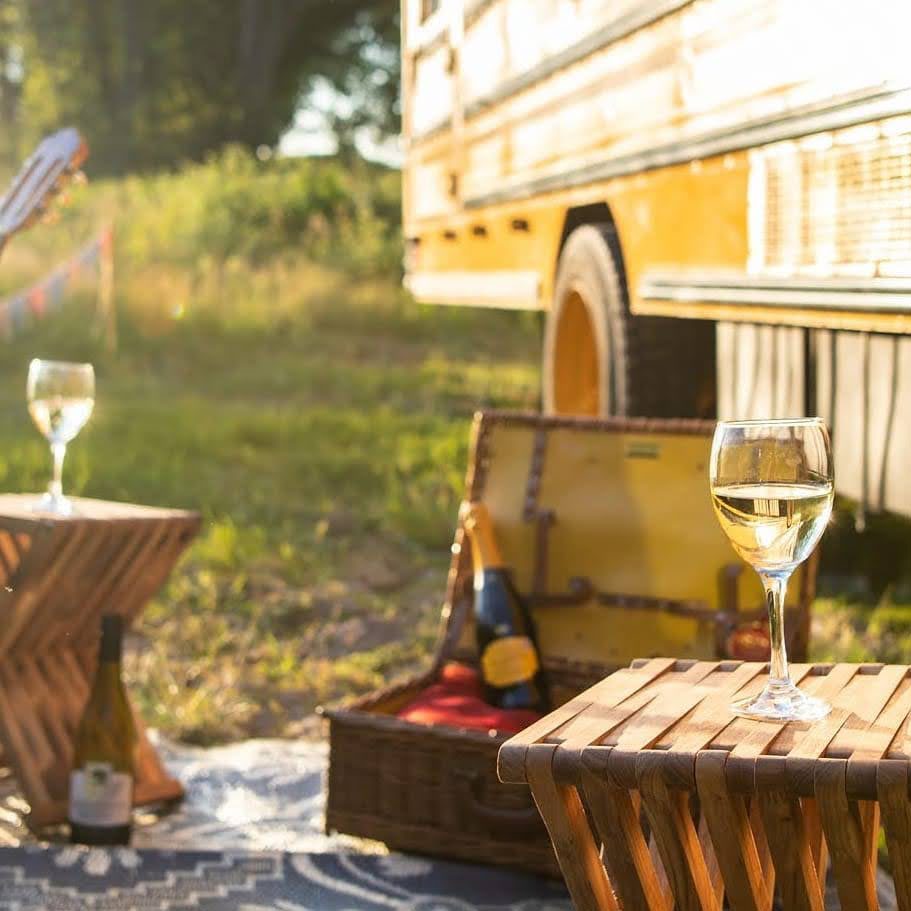
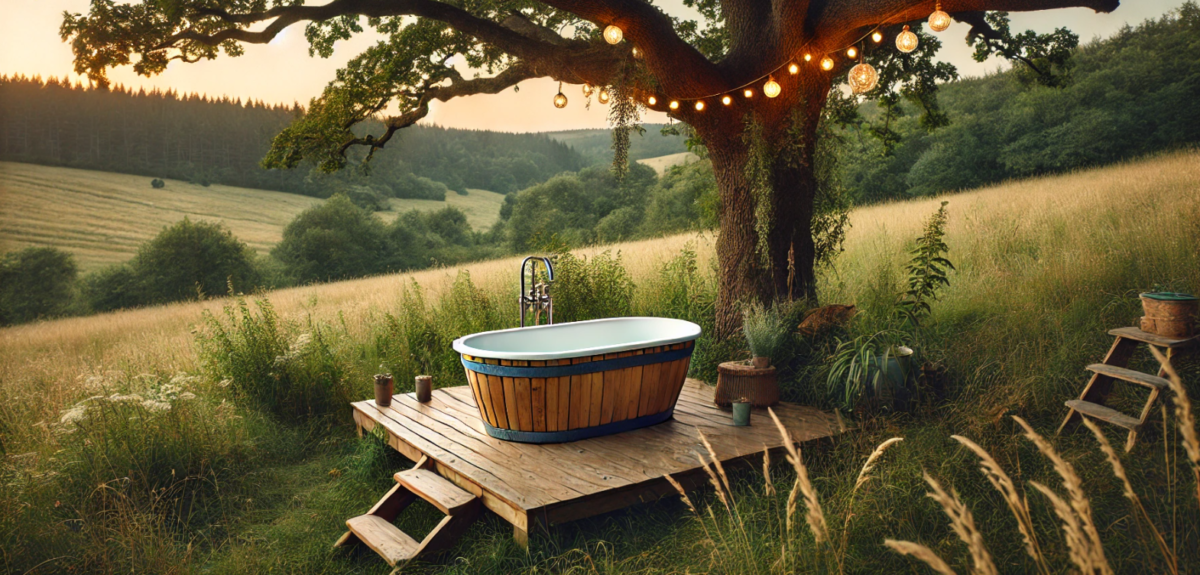
What is for sure, is that it will allow our guests to while away hours in hot water, under the beautiful big oak tree just in front of the bus. It’ll be log-fired, with decking and places to sit and lounge and enjoy the fire as it does it’s thing and starts to get steamy. This is such a lovely spot, and it will allow you plenty of privacy and peaceful views out to the countryside, and up into the majestic branches of our favourite tree.
We’ll update you here as the design and build comes together, but for now we wanted to explore some of the benefits of hot tub life, especially when enjoyed in natural surroundings like those we are blessed with at the Skoolie Stays bus.
The perfect spot for the Skoolie Stays wild hot tub bathing area

Exploring the Health, Wellness, and Relaxation Benefits of Hot Tubs in Nature
Hot tubs have long been associated with luxury and relaxation, but when placed in serene natural surroundings, their health and wellness benefits are amplified.
Whether you’re looking for physical relief, emotional calm, or a way to reconnect with nature, soaking in a hot tub surrounded by natural beauty can be an experience that nurtures both body and mind. In this article, we’ll explore the health benefits of hot tubs, especially when placed outdoors. We’ll also look at the calming advantages of nature, dive into the cultural traditions surrounding hot water baths, and share tips for maximizing your wellness while soaking in a hot tub.
Health Benefits of Hot Tubs in Natural Surroundings
A ‘wild hot tub’ that is set in a tranquil outdoor setting is more than just a luxury; it’s a therapeutic experience. Here are the primary health benefits you can enjoy when soaking in a hot tub surrounded by nature:
1. Muscle Relaxation and Pain Relief
One of the most immediate benefits of soaking in a hot tub is muscle relaxation. The warm water helps ease tension and reduce pain from sore muscles, stiff joints, and chronic conditions like arthritis. The buoyancy of the water alleviates pressure on the body, allowing the muscles and joints to relax. This makes hot tubs an ideal choice for those suffering from muscle soreness, fatigue, or inflammation.
2. Improved Circulation and Cardiovascular Health
The heat of the water stimulates blood flow, causing blood vessels to dilate and improve circulation. This can have a positive impact on heart health, helping to lower blood pressure and support overall cardiovascular function. If you’re prone to cold hands and feet, the warm water can help increase circulation to extremities, reducing discomfort.
3. Stress Relief and Mental Health Benefits
Soaking in a hot tub is a natural way to reduce stress and anxiety. The warm water encourages the body to relax, while the calming environment promotes a sense of peace. Additionally, soaking in hot water can help reduce cortisol (the stress hormone) and increase the production of endorphins, the body’s natural mood elevators. Combined with the tranquility of nature, a hot tub soak is an effective way to decompress from the stresses of daily life.
4. Detoxification
Hot tubs are great for detoxifying the body. As your body sweats in the warm water, it naturally releases toxins through the skin. This process not only helps cleanse the body but also promotes healthier skin. After a soak, many people feel rejuvenated, with a greater sense of clarity and vitality.
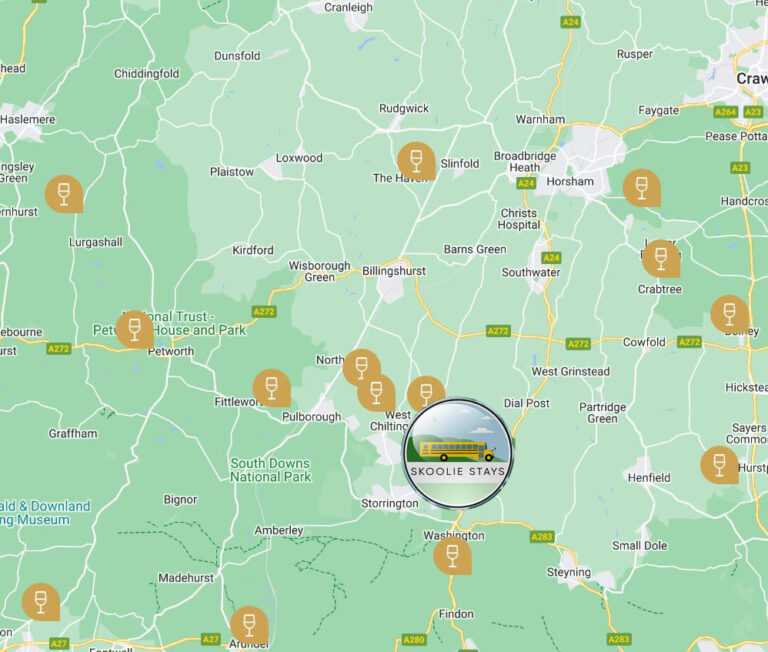
Where Is the Skoolie Stays Wood-Fired Hot Tub?
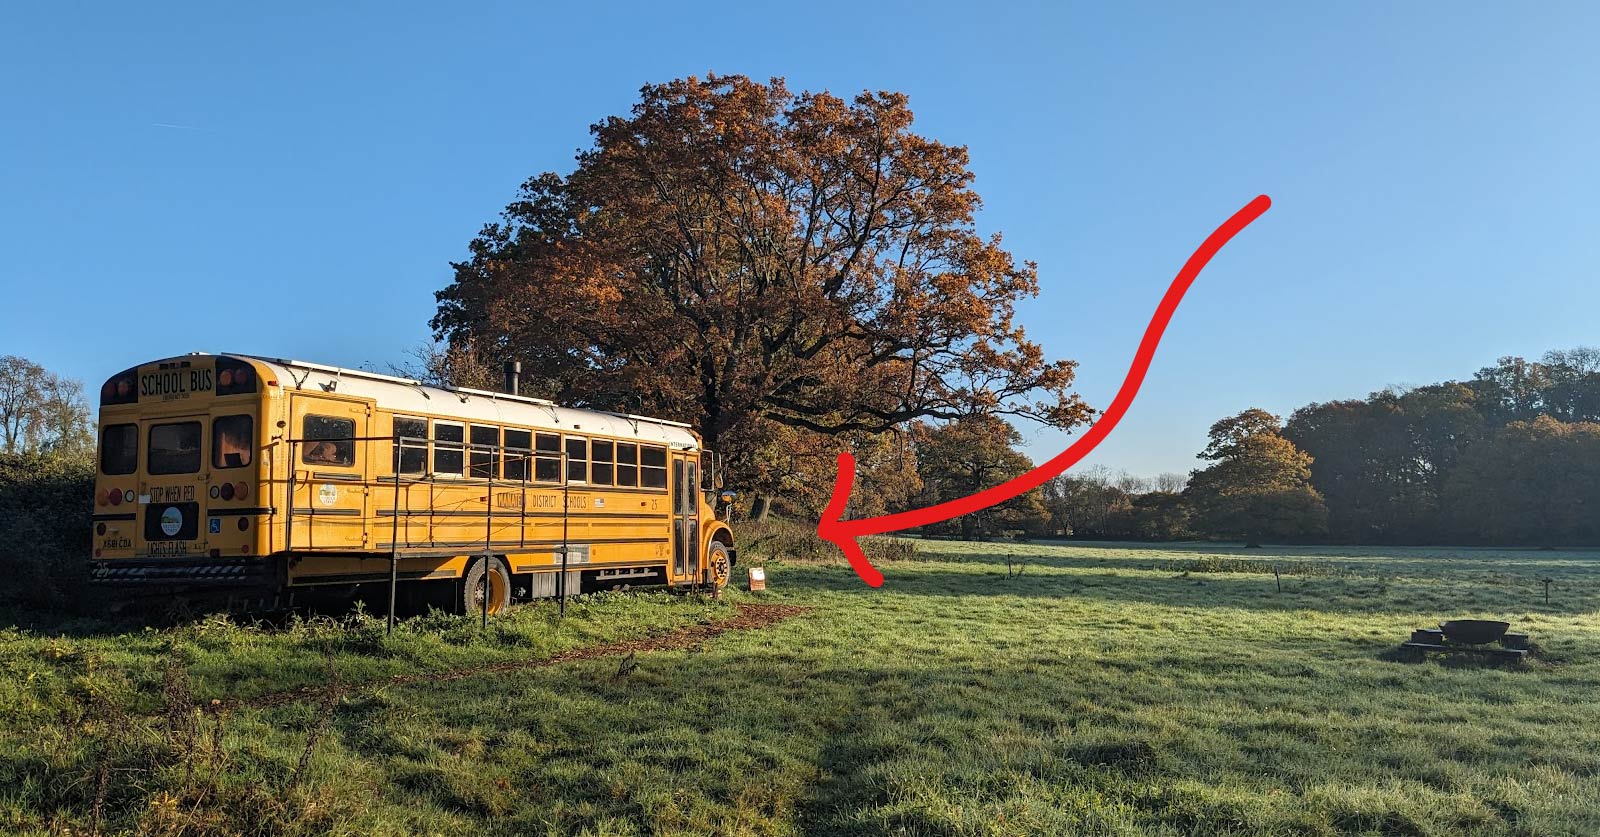
Tucked beneath a mature oak tree in the private meadow beside the converted American school bus, the Skoolie Stays wood-fired hot tub is designed to feel completely immersed in nature. Just a few steps from the bus, the tub sits in a quiet corner of the field where guests can soak in warm water while looking out across open countryside and the rolling landscape near the South Downs.
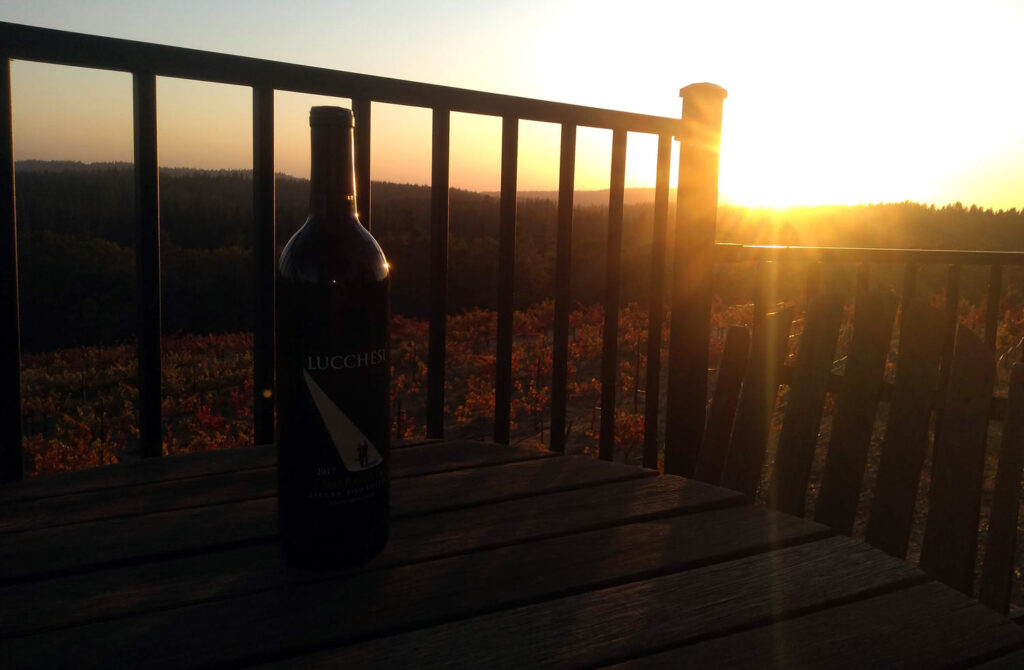
The location was chosen carefully to balance privacy and views. Surrounded by grass, trees and birdsong rather than buildings or neighbours, it offers a peaceful place to relax after a day exploring the Sussex countryside. In the evening, guests often enjoy watching the sky change colour over the meadow or listening to owls while the wood-fired heater gently crackles beside the tub.
Because the hot tub is heated by a log fire rather than electricity, it feels more like a small outdoor ritual than a modern spa. Lighting the fire, waiting for the water to warm and stepping into the tub beneath the trees becomes part of the experience of staying at Skoolie Stays.
The Calming Benefits of Nature: Why Hot Tubs in Natural Surroundings Are So Special
Incorporating nature into your hot tub experience amplifies its relaxing effects. Studies show that being surrounded by nature has a profound impact on mental health, and pairing this with the soothing effects of hot water creates a truly therapeutic combination.
1. Connection with Nature and the Outdoors
Spending time in nature is scientifically proven to lower stress levels and improve mood. When immersed in a hot tub surrounded by trees, flowers, or open landscapes, you have the opportunity to reconnect with the natural world. This connection fosters a sense of grounding, helping you feel centred and in tune with your surroundings.
2. The Sound of Nature as a Natural Stress Reliever
The calming sounds of nature can be just as beneficial as the warmth of the water. The rustle of leaves, the chirping of birds, or the sound of a nearby stream all work together to lower anxiety and promote a state of relaxation. These natural sounds act as a form of “white noise,” blocking out distractions and enhancing mindfulness during your soak.
3. Fresh Air and Breathing Benefits
In addition to the soothing sounds, fresh air also plays a significant role in enhancing your hot tub experience. Breathing in clean, unpolluted air helps improve oxygen levels in the body and lowers stress levels. Paired with deep, mindful breathing while you relax in the hot tub, this can have a profound effect on both physical and mental well-being.
Hot Tubs Around the World: Cultural Traditions and Their Wellness Benefits
The tradition of soaking in hot water baths is deeply rooted in cultures across the world. Each culture has its own unique approach to water therapy, but they all share a common goal: promoting relaxation, healing, and well-being.
1. Japanese Onsen Baths: A Spiritual Healing Ritual
Japan’s onsen culture is perhaps the most famous example of using hot water baths for health and relaxation. Onsen (hot spring) baths are a significant part of Japanese tradition, offering not just physical healing but also spiritual rejuvenation. The Japanese believe that bathing in hot spring water allows for a cleansing of both the body and the mind. It’s a practice that combines relaxation, reflection, and connection with nature.
2. Finnish Saunas: The Art of Heat and Cold Therapy
While not exactly a hot tub, the Finnish sauna tradition shares many similarities in terms of wellness benefits. Finnish saunas often involve alternating between hot and cold temperatures, which is said to improve circulation and detoxify the body. The practice of moving between hot saunas and cold baths has long been used in Finland to promote overall health and mental clarity.
3. Roman Baths: A Community and Wellness Tradition
The ancient Roman baths were not just places to bathe—they were communal spaces where people gathered to socialize and relax. Roman bathhouses featured various pools, including hot and cold baths, saunas, and steam rooms, each designed to promote different aspects of health and wellness. The Romans believed that bathing was essential for maintaining good health, and they often incorporated nature into the design of their bathhouses.
Why Wood-Fired Hot Tubs Feel Different From Standard Hot Tubs
A wood-fired hot tub offers a very different experience from the typical electric hot tub found in hotels or holiday parks. Instead of pumps, bubbles and bright lights, the focus is on simplicity, warmth and connection with the outdoors.
One of the biggest differences is the way the water is heated. A small log burner warms the water naturally, creating a gentle and consistent heat that feels softer and more organic than a conventional spa. The process of lighting the fire and waiting for the water to heat also slows the experience down, turning the soak into something you prepare for and look forward to.
Wood-fired tubs are also much quieter. Without electric pumps or jets running constantly, the sounds you hear are the natural ones around you — wind through the trees, birds in the distance, or the crackle of the fire heating the water.
When placed in a natural setting like the Skoolie Stays meadow, the experience becomes even more special. Soaking outdoors beneath the trees, surrounded by countryside rather than walls or decking, creates a feeling of calm that many people find deeply relaxing.
For many guests, the combination of warm water, fresh air and the slower rhythm of a wood-heated tub is what makes the experience memorable. It’s less like visiting a spa and more like enjoying a peaceful moment in nature.
Maximizing Wellness and Relaxation While Soaking in a Hot Tub
To make the most of your hot tub experience, there are several practices and techniques you can adopt. Here are some tips to enhance your wellness and relaxation during your soak:
1. Practice Mindfulness and Meditation
Before entering the hot tub, take a few moments to set an intention. Whether you’re focusing on relaxation, stress reduction, or physical recovery, setting a mindful intention can enhance your experience. Once in the hot tub, focus on your breath and practice mindfulness. Let the warm water help quiet your mind and encourage relaxation.
2. Aromatherapy for Enhanced Relaxation
Aromatherapy is a wonderful way to amplify the calming effects of your soak. Essential oils like lavender, eucalyptus, and peppermint are known for their calming and rejuvenating properties. Consider using a diffuser nearby or adding a few drops of essential oil to the water
Looking for glamping in Sussex with a private hot tub?
Why not follow us on socials for the latest updates and to get the best deals.